Showing posts with label beauty. Show all posts

Tuesday, May 27, 2014

Tutorial Tuesday: Princess Aurora Curls


From the dawn of time- well my time- I have loved Princess Aurora. Even before I saw the 1959 masterpiece “Sleeping Beauty” (one of the most under appreciate films of all time IMO) I have love Princess Aurora. As a three year old, I fell in little girl love with everything about her- the dress, the beauty, the Prince (yum yum) and especially THE HAIR! She had hair like me which is why she and I had to be best friends. My obsession has only grown since the age of three, so much that I now collect Sleeping Beauty paraphernalia (Does anyone knows where I can buy a copy/original “Sleeping Beauty” movie poster?) and could rightfully say that at least a half-  two thirds of my 24 years of birthday cakes have had Sleeping Aurora on them. No judgments.

I say all of that to say this- I am EXTREMELY excited about the release of Maleficent this Friday. So excited that I will be at the closest theater when it opens Friday morning to watch the movie. If it was necessary, I would camp out the night before, so I could see the first showing. But I live in the biggest city in Alabama so that’s probably not a good idea. In preparation for the viewing extravaganza I will seeing this Friday and again on Sunday with my family and probably once more with friends, my blog post this week will be themed around Princess Aurora, who the world usually refers to as “Sleeping Beauty”.

Why Does Everyone Call Aurora “Sleeping Beauty”?

And since her hair is absolutely beautiful, I thought I would start with a tutorial on how I do my, as I refer to them, Princess Aurora curls. These curls are perfect to wear with a crown or a headband or alone and provides beautiful Princess-esque volume while being simple. Curls are the most classic of all known and yet to be discovered hairstyles and perfect for any and all occasions- except surgery, they don’t care what you hair looks like during surgery.

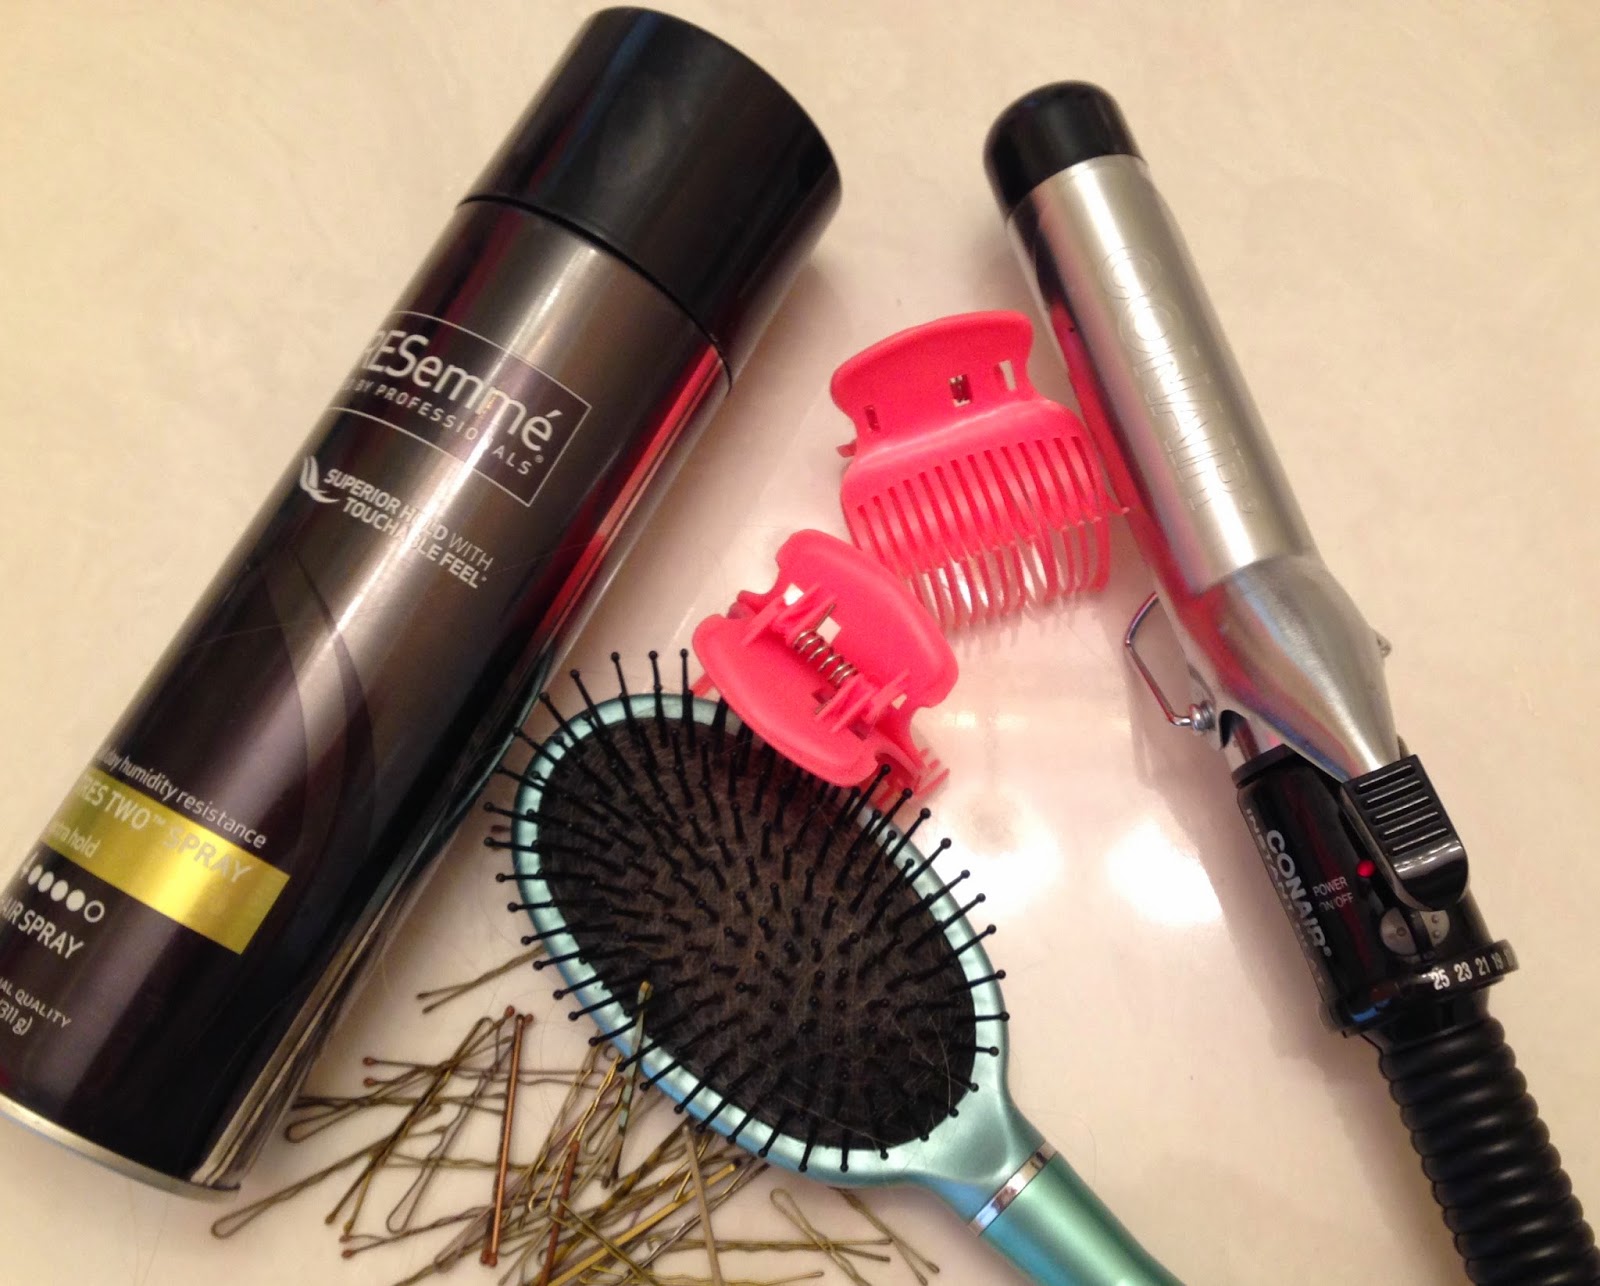
Supplies Needed: Usual things that you probably have in your bathroom or wherever you fix your hair
Hairspray
Bobby pins- around 15-20
Curling iron with a large barrel- the one I’m using has a 1-1/2 inch barrel
Clips to pin up your hair
Hairbrush- Duh


If you can curl and put in a bobby pin, you can do this tutorial.
Catherine Note: Through my years of answering questions about how I do my hair/ how I curl my hair I have come to a realization: some women/girls/young ladies/ chicks/ gals and any other slang you can think of the describe the female gender have no clue how to curl their hair. They ask me how I don’t get kinks in my hair or how to properly curl hair and even though today’s blog is dedicated to a certain hairstyle, I will try to answer these questions. Eventually, I’ll do a “This is how I normally curl my hair” tutorial which should answer any or all hair curling questions. But that will be later, this comes first.

Step 1: Start with fresh clean hair with very little to no product in your hair. If you have hair that has problem holding curl, this is key! I've notice that many girls have complained to me that their hair won’t hold curl but then I notice that they load their hair down with so much product that it forms a force field of synthetics around their head. Yeah, no curl can withstand in that sort of environment. Usually I just put my a little bit of Moroccan oil on my ends (when wet) and that’s it. If you have very thin or straight hair, you might consider putting some texturing spray to help your hair hold the curl. Just don’t overload on the product. Okay?
Step 2: After thoroughly brushing your hair part you hair in approximately 3 sections. If you hair is long or really thick, you might consider 4 sections. If you have layered hair, you would want to section off your hair according to your layers. If not, well then section your hair into a bottom, middle and top sections and clip it off the top two sections. Brush through the loose hair, just to be sure.
Step 3: If you have a natural curl or wave in your hair that makes it kink next to you scalp, like mine does, you might consider running a flat iron through the kink to get it out. Do not flat iron down the hair, remember you are trying to curl it- not straighten it. Section the let down layer into 2 inch sections- I usually have about three or four- and start curling. Okay here’s my steps for how to curl your hair:
1.       Start with the middle of the section
2.       Curl around the barrel (don’t fold you hair back over the clamp)
3.       Loosen the clamp and slide the barrel to the end of the hair
4.       Clamp down and roll the hair up and hold for a varying amount of time


Step 4: After holding your hair in the curling iron for whatever time you deem best (just be careful not to burn your hair off like that one girl) let off the clamp a little and gently wiggle the curling iron out of your hair.


Step 5: Once the curl in loose, grab it with you finger and use them to roll in back up to you scalp and pin in to your head. Do not pin in flat to you head (that would be a pin curl) but more or less like you have invisible curlers in your hair. Repeat with the rest of the section and the middle layer.


Step 6: Curling the top layer is a little bit different than the other layers. Section you are so that you have a Mohawk like section down the middle. If there is any extra hair after sectioning on the sides, curl as before. For the Mohawk hair, you are going to need to hold the hair straight up and curl as before. This is a little tricky because sometimes the hair gets a mind of its own and tries to get free. Roll the curling iron so that it land on top of your head like a little curling iron hat and hold. Release the hair after the allotted time and reform and pin the curl- again to the top of your head. Repeat with the rest of the Mohawk hair until all of her hair is set and pinned.


Step 7: Spray the hair with hairspray and let cool- usually 15-20 minutes. This waiting time is a wonderful time do your make up or catch a quick episode of Scrubs or both. It’s really up to you.


Step 8: Release you hair from its metal captures and allow the curl to gracefully fall in accordance to gravity. Repeat until all of your hair is free then give it a quick shake out like you are in a Aerosmith music video. If need be, run your fingers through your curls to loosen them up.


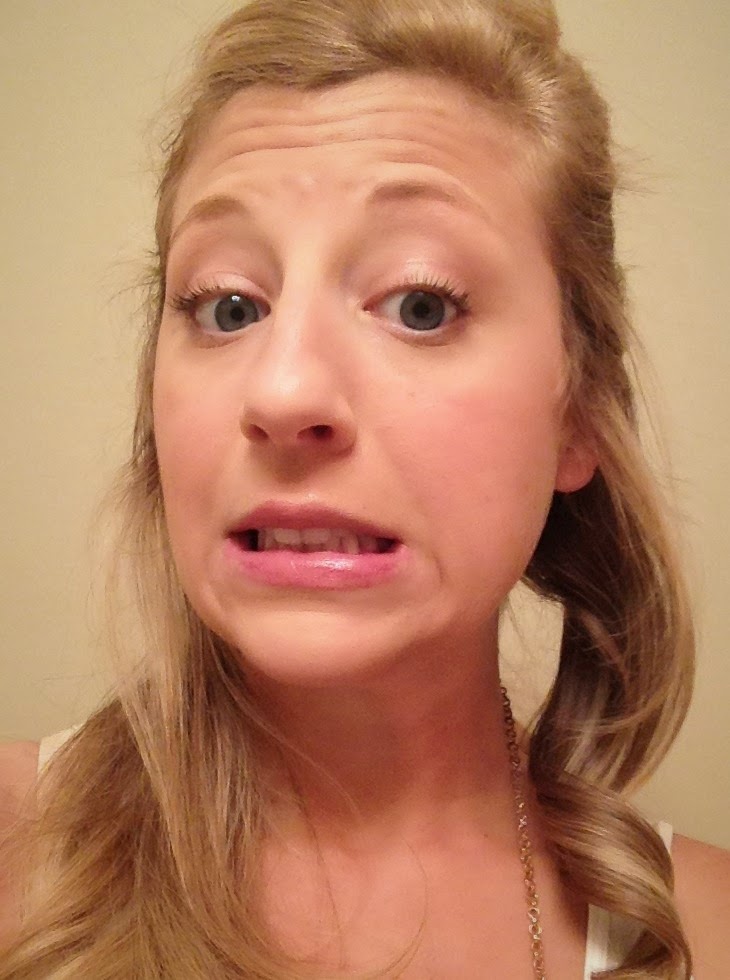
Step 9: Finish off with a little extra spray and you are done. Rock your beautiful curls.


Now that you have Princess Aurora hair, I suggest grabbing a basket, taking off you shoes and heading to the forest of your choice- who knows, you might even meet your prince there too.

Happy curling and much love!
XX

Catherine 

Sunday, May 11, 2014

Stunning Sunday: Theo James

Happy Mother's Day!!!

To all mothers everywhere, I hope you all have a wonderful days full of love and laughter. I am not a mother, but I can’t wait to join the ranks.

So, what to write about on this cloudy hot Sunday? How about the hottest craze sweeping the nation- Theo James.


Can't you see him in this? 

I’ll admit it, I really had no interest in seeing Divergent. Another movie based on a book post-apocalyptic America where people are grouped and forced to live due to strict guidelines then another group gains power and tries to wipe out a certain group and there’s a rebellion led by an unlikeable female, blah blah blah…. Yeah, I know I’m in the minority but I grew up on Harry Potter, Narnia and Tamora Pierce, I’m kinda a book snob. But I went with my friends to see it because they really wanted to and I was pleasantly surprise. No, not by the plot (though it wasn’t bad) but by the HOT male eye candy. Hellllooooo sailor! In fact, that should be his next role! He should be a sailor or marine or navy seal or army pilot, basically anything that has his dressed like Josh Hartnett in Pearl Harbor. (Don’t judge my indescribable attraction to men in 1940’s military outfits)


See it? 
Of course, Theo James’ face was plaster in every theater and the trailer played before every movie and in every commercial break, but it was nothing compared to seeing him in tatted up action for approximately 2 and a half hours. I think that every comment made during that movie, beside the few made about the Macklemore looking jerk and that her brother is going to be her boyfriend in "The Fault In Our Stars",  was about how F.I.N.E. he is. Even my friend Aim, the most reserved of my comrades, had some feisty, uncharacteristic comments.
That little minx.

So what makes the desirable Theo James desirable? Well, Auntie Catherine is here to break it down for you.
Let’s start with the face, shall we. He has one, a nice one. And it’s the perfect mix between rugged manly man and pretty boy.

Jawline? Manly

Cheekbones that might be the offspring of Benedict Cumberbatch’s? Pretty boy

Every present, five o’clock scruff? Manly

The most perfect set of teeth and lips which creates the most beautiful smile? Pretty boy

The hair? A mixture of both- a perfect combination of thick brunette style so effortlessly perfect

Combine these gorgeous attributes with a pairs of smoldering brown eye and a perfect nose and you get this:

This boy…man…has is ALL!


Now, the voice. If you think that a man’s voice in no way contributes to his overall attractiveness, then obviously you’ve never heard Hugh Jackman speak (or sing) or (again I have to mention) Benedict Cumberbatch.
Theo had such manly voice (see link below) and, though not present in Divergent, he is British which means that he also has an accent. (again see link below) 

 Can I get an Amen?

The body. I feel like I’m just wasting my breath discussing his body. Yep, it’s perfect; rock hard abs, biceps as big as my head, suspected muscular thighs. But he isn’t ginormous like the Rock or perfectly leaned and tone like Andrew Garfield. He’s, as the old tale goes, just right. Here a gif of him shirtless- because I’m a giving soul.


I feel like I have to mention his tattoos from Divergent here too. I am not opposed to dating a man with a tattoo or two. I've never dated a man with one, but that’s because the majority of my boyfriends happened in high-school and they weren’t old enough to get one. But the thing about tattoos in regards to attractiveness is that they have not be stupid or obnoxious (like that)  and well placed. They nailed (or needled) it on the head with is. Though there were a lot, they were simple, black and placed on his back. Good job Divergent. (I do know that they design, placement and color were probably indicated in the book and only followed by the producers of the movie, so well done Divergent author as well)


I know nothing of his personality. Is he the complete gentlemen that Tom Hiddleston and bring tea and soup to waiting reporter? Don’t know, though his English upbringing might be an indication that he is. Is he a closet nerd like Henry Cavil who almost missed his role for Superman because he was playing World of Warcraft (I do love a hot nerd) or Andrew Garfield who’s always wanted to be Spiderman. Does he spend his time surfing like Liam Hemsworth? Or playing with his dog like Kellan? Is he a big flirt like Chace Crawford or Leonardo Dicaprio? (Theo and Leo do rhyme)  Can he sing like mi amor, Ben Barnes.  Or does he just take naked selfies like James Franco and hit on underage girls. (Seriously, James, we need to have an intervention) I don’t know, but I’m sure we are going to be seeing a lot more of this British hunk in the upcoming years- at least until they finish Allegiant II. Right Theo? 


Of course I will, Theo. 

So, happy Sunday everyone. Enjoy living life and looking at hot guys!
Love you bunches and see you on Tuesday!

XX Catherine 

Tuesday, May 6, 2014

Tutorial Tuesday: Leia Inspired Hairstyle


In case you unfortunately missed in, Sunday was Star Wars Day! A nerdy holiday celebrated throughout the world with Star Wars food, shirts and, of course, viewing of the movies. It was also a Sunday and, though my mother wouldn’t let me wear my Star Wars t-shirt to church, I decided to wear a Star Wars inspired hairstyle. No, it’s not Leia’s legendary buns or the ridiculously awesome braided up-do that I absolutely LOVE (pictures of both below) but a mixture of both. And this hairstyle can be wore not only on a nerdy holiday, but for anything from special occasions to sweaty, summer days outside. It keeps you both cool and cute while keeping your hair out of your eyes- useful when you are fighting against the empire.


Supplies Needed:


The little helix pins are Simple Styles Spin Pins made by Goodys. I got them around 4 years ago and I LOVE them. I highly recommend them for anyone who wants/needs pins for buns and other up-dos.

The How-To (with pictures)

Step 1: Brush the ever loving crap out of your hair. If you have a thin or silky straight hair (I am totally jealous of you then!) spray some texturing spray. Braids hold better when you have some sort of texture. Today I’m working with second day hair that hasn’t been styled because I’ve only been cleaning and running errands, so it’s either been up or in a braid. Please don’t judge it.
Ugly hair! Oh what to do!

Step 2: Part your hair as normal and tie off the side with less hair (the side closest to your part).  Run a brush through your free hair a few more times, then part it with your fingers for braiding. Start French braiding close to your scalp, grabbing small sections and working them through your hair. Braid behind you ear, stopping at the base of your next and pinning it off with bobby pins. You could try to tie the braid off with a ponytail holder/ hair tie, but I find bobby pins to be the easiest.


Step 3: Repeat on the other side. Start high up on your scalp and braid using tiny sections. Braid the hair at an angle towards your opposite shoulder. When you meet up with the other braid, hold the current braid with one hand and try slip the pins out of your hair. Try to not let the completed braid get too undone, but start incorporating the remaining hair into your bigger braid.  Once you meet the other braid, you can start using larger sections until you have a completed braid over your shoulder on the side of your part and tie it off.


Step 4: You are almost done! Yay you!!! Fluff out you braid a little bit by gentle (gentle being to key word) pulling the plait from either side. Then roll the braid up counterclockwise, wrapping the end over the braid and towards your head. Wrap it up to the side of your head and secure it with bobby pins or spin pins.


Now, you’re DONE! See, wasn’t that easy. I get so many complements on this hairstyle. It’s quick, easy and looks quite impressive when finished. Now, you are ready to attend a dance, day at the pool or fight some stormtroopers, whichever you chose.


If you do this, I would to see pic to tweet me or post them below.

XOXO,


Catherine

Thursday, January 23, 2014

My new beauty trend: The Calcium Bentonite Clay Mask.


More than a year ago I purchased a tub of calcium bentonite clay from a local GNC. I had seen an idea for a body wrap on pinterest and decided to try it for my brother's upcoming wedding. Well, I never did it and the powder eventually got lost in my bathroom cabinet only to be rediscovered a few weeks ago. Curious about this mysterious powder that's supposed to be very beautifying and beneficial, I took to the Google to figure out what it did. It seems that calcium bentonite clay has a list of benefits of which it boasts with its biggest one being that it's the "World's Most Powerful Facial"! Yes, I had the world's most powerful facial under my sink and didn't even know it! One YouTube video later and I was whipping up my new mask. 

The calcium bentonite clay mask works by supposedly pulling the toxins in your skin to the surface so that you can wash them away. It also increases blood flood to you face and I can say for experience, it sure does. You can actually feel your face pulsate, which is what the bottle (tub? container thingy?) says!

It was surprisingly easy to whip just. Just add equal part clay and water/ apple cider vinegar (what I use) in a plastic bowl and stir with a plastic spoon. That's it. And the bowl and spoon must be plastic or paper or wooden- not metal. Not to get to sciencey on you but calicum bentonite clay carries a negative charge- which is what makes it beneficial for beautifying. If the powder was to be added to a metal bowl, the charge would be transferred to the bowl and therefore not have the beautifying power it needs!
Almost dry mask of pulsating fun!


Once whipped up, just smooth in on your skin and relax. You will quickly start feeling the blood pulse through your skin as the mask does its work. After 5-20 minutes, depending on you skin type, rinse it off. I personally follow up with my usually face care routine and apply toner, then moisturizer. It's just that simple.

I have only been doing this mask for a week- only three times- and I already love it. It's quick, easy, doesn't break out my skin, and it removing toxins! How much better could you get?

I hope you all try it out and let me know how it work for you!

Peace, love and beauty,
Catherine 


Thursday, October 24, 2013

My Love Affair with Makeup:

Hello lovelies! I am back from my unexpected hiatus.  Lucky for me, all of my professors this semester decided that my exams were best scheduled two at a time with no breaks! Yay! I honestly don't know how my mind has survive until now. However, I think that the worst is over now so you will be hearing a lot more from me. I know, I know- you're excited but please, try to contain yourself.

So, I have made an executive decision about my blog. So far I have written about my poor attempts at finding love, my favorite men and a little on my favorite fandoms. But, from now on, I think I am going to switch gears on my little pink blog and actually swerve into the beauty lane. Yes, this will partly be a beauty blog. Now, of course I will still have my hot men rants and Disney post and funny stories regarding my life and the life of those around me, but I will also be dealing out my knowledge and tips I've learned regarding makeup, hair, skincare and fashion. I super excited about this because I love all things girly as well as all things nerdy! So, here we go with my first beauty post.

Since a very young age, I have loved makeup. In fact, one of my favorite pictures of myself as a toddler was one where I was standing on my parent's toilet with baby powder on my face and bright red lipstick smeared all over my lips. Even at the rip old age of three, I could wait to be a big girl and wear makeup.
I'm am now 24 and have been wearing makeup for at least the last 11 years. And through those 11 years, I have learned many tip and tricks of the makeup world. You see, no one taught me how to put on makeup. My poor mother-who is the most beautiful women in the world- never wears any makeup. And if she does, she is absolutely clueless as to how to apply it or buy it. (I'm completely serious, a few years ago she sent me to the store with a handful of cash to buy her makeup because she didn't even know what to buy) Because of this, I had to rely on observation and later YouTube videos to teach myself about the wonderful world of makeup. And I don't want to toot my own horn, but I think I have gotten skilled at doing it- on myself at least.

Now- before I go any further- I have to tell you that my makeup routine is exactly that- a routine. Yes, I mix it up a little now and then, but I usually don't venture far. Let me explain why. I feel like many girls use their makeup to try to change how they look. They use over exaggerated colors, liners and contouring to change their entire face. I am not like that. I believe that make up should be used to enhance every girls natural beauty. Every single girl out there is beautiful! It really breaks my heart when I see girls out their trying to hide themselves and change themselves by overdoing their face and not letting their true beauty shine through. Less really is more, especially when it comes to a basic day look, and that's how I feel like I do my make up.

Okay, little rant over. Now onto the real meat of this post- me and my make routine. As my maiden voyage as a beauty blogger I am going to show you how I do my makeup and share a list of my favorite products.


My Daily Makeup Routine:


First thing, always start with a clean face. Cleaning your face is really important when it comes to doing makeup because this stuff literally clogs your pores which can lead to ance- and no one like ance. (One day I may do a post on my skin care routine and how I determined which skin care routine was good for me.)

Look Mom, I'm on the internet with no makeup
First step first- concealer. Now matter how clean and clear your skin is, every girl is bound to get a few zits in her life time. Then, on top of that, with age comes dark circles that no one particularly wants peaking through. Through trial and error, I have discovered two concealers that I absolutely love!!! They are the Maybelline 24-Hour Concealer and Hard Candy's Glamoflauge. Though they are both liquid concealers, I really consider them to be in different forms. The Maybelline concealer comes in a tube and has an application wand for, well, application. For the past few months, I have been primarily using Glamoflauge but the Maybelline tubes are great to through in your bag for touch ups- which is why I am including them in this post. The Glamoflauge has stolen my heart. You only need a little bit to go a long way and it stays on a long time. Yay! It comes in a tube and can be applied with a sponge or, my preferred way, by using a beauty blender. Now, if you don't know what a beauty blender is, it is that little tear shaped pink sponge you see on the makeup aisle. They can be used dry or damp to apply liquid make up and they blend magnificently! (Just in case you were wondering) These products are both cheap ($6 for the Glamoflague and under $8 for the Maybelline) and are both products I would recommend. 


Now, for foundation. Back in March, I took the plunge and entered into a relationship with Bare Essentials. From then on, we have been in love. Yes, it is more expensive than normal powder or foundation you can buy, but it is totally worth it. It covers like a DREAM!!! It's light and, like the Glamoflague, it stays put all day. And I mean it, there are days when I would come home from school and still look fresh. Applying it might seems intimidating- they do give you a brush and specific instructions- but it really is simple. You pour a little in the cap, swirl your brush in it, tap off the excess then buff it onto your skin. After applying it, you might feel like a wizard with the crazy make up magic you just performed. 

Now, this next part is a little controversial. Some girls do their blush next, I do my eyes. First, I use an eyelid primer. I recently started using eyelid primer and so far I really haven't noticed a different in my length of stay for my eyeshadow but I am still using it so, who knows. Here comes the next controversial part! I don't use eyeliner in the conventional sense. I personally hate the way that eyeliner looks- it looks unnatural and actually makes most peoples, mine included, eyes looks smarted. Who wants to make their eye look smaller? They are the "gateway to the soul". Instead, I tight line. Now, tight lining is something that I can get behind. Instead of applying eyeliner in the conventional sense, I only use eyeliner to fill in the little gaps between my eyelashes. This doesn't make your eyes look smaller and, instead, really fills in your eyelashes to make them look thicker! How awesome it that? 

And now for the third controverisal part, I only wear brown and neutral eyeshadow tones. Most guys notice a girls eyes before anything else. Using colors that compliment your eye colors will really make your eyes stand out and really pop. That's why I, a blue eye girl, use brown whereas brown eye beauties should use more purples and blues and green eye girlies should use more greens and golds. By choosing complimenting colors, people will look at your beautiful eyes instead of your eyeshadow. 

Then I apply blush. Blush is about the simplest part of my makeup routine. Now, with blush, it's important to choose one that compliments your actually coloring and won't make you look, well, like a clown. Oh man, I actually saw a girl today at school who hadn't learn this concept and I could only look at her bright pink blush, and not her face. My personal favorite blush is Pink Blush 04 by Clinque. It's simple and soft and would probably match with most skin tones. 

After blush I apply a bronzer, if needed. Did you all read that- if NEEDED! We have all passed girls that are two different colors- tan faces and pale necks. Though I am probably guilty of doing that at least once, make sure to match your makeup well and blend it appropriately into you neck to avoid this common mistake.  Believe me, it's okay to put makeup on you neck ans even your chest- you won't be breaking some unwritten rule. When applying bronzer, apply it to you neck and chest also so that everything matches and to avoid that carnal makeup sin. Then set your makeup with powder or mineral veil- for us Bare Essentials users- to complete your look with you favorite lip stick or gloss. I personally love Utla's Brilliant Color lipgloss in 15. It's a beautiful shade that looks more like a shiny lipstick when on instead of a shimmering lip gloss. Sometimes, if I want a little shimmer, I'll layer a shimmery gloss over it- particularly a Revlon Shade that I can't find at the moment. 


And done! That's better.

Sorry for the bad lighting- blame my bathroom.

And now I'm ready to face the world. (Get it, face? Because I put on my face!)


I hope you have enjoyed my first beauty post. Comment or subscribe/ follow if you really enjoy post like this and I'll be sure to write more. 

Lots of love,

Catherine